
Blog
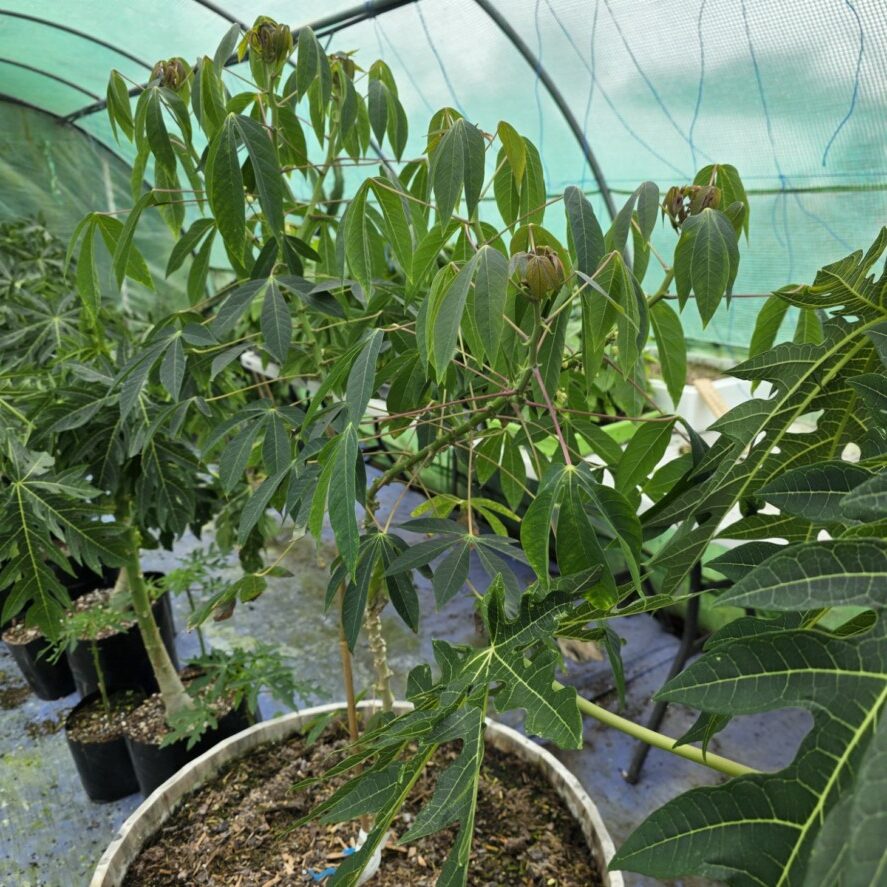
Battling the Bugs and Boosting Branches: Air Layering My Silk Floss Tree (Ceiba speciosa)
Feeling a bit like a wilted houseplant myself lately, caught in that frustrating in-between zone of illness. But even amidst the sniffles and fatigue, the urge to get my hands dirty in the garden persisted! And today, I managed to tackle a project I’ve been itching to try: air layering my beautiful silk floss tree (Ceiba speciosa)!
For those unfamiliar, air layering is a fantastic method to clone mature trees and shrubs, allowing you to create genetic duplicates with the desirable traits of the parent plant – think guaranteed fruit production or those stunning flowers you adore. There are various techniques out there, but I decided to put my own little spin on it today, a bit of Kiwi ingenuity in action! 😉
A massive shoutout to the wonderful folks who’ve been so supportive while I’ve been under the weather. Your kindness and help make these little bursts of productivity possible! ❤️
Now, for those curious about my slightly unconventional approach to air layering, here’s a step-by-step breakdown:
My “Lateral Thinking” Air Layering Method for a Silk Floss Tree:
-
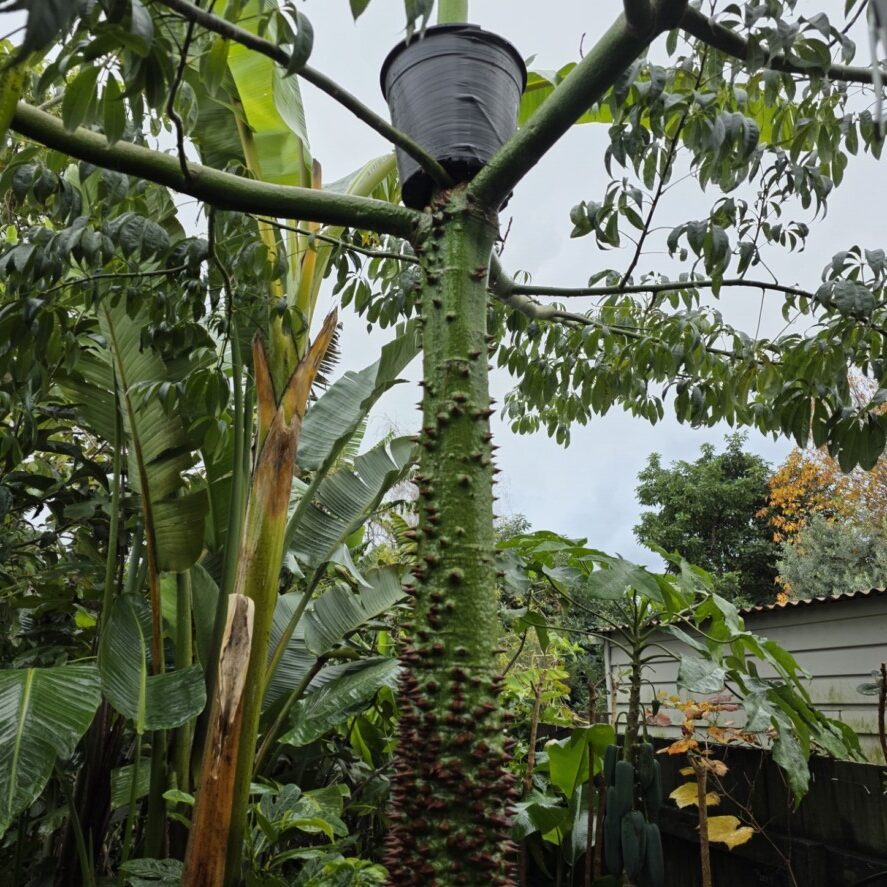
Preparing the Bottom Pot: First things first, I grabbed a plastic pot that would be large enough to accommodate a decent root ball. To create an opening for the branch, I used a holesaw to cut a hole in the bottom of the pot. This is a crucial step, and to prevent the pot from cracking under the pressure of the saw, I made sure to place a piece of wood behind the area I was cutting. Safety first!
-
Creating an Opening: Next, I carefully cut down one side of the pot from the rim to the hole I just created. This slit will allow us to open the pot and fit it around the chosen branch.
-
Adding Fastening Points: To securely hold the pot together around the branch, I drilled a few pairs of small holes along the cut edges of the pot. These holes will be used to thread cable ties.
-
Girdling the Branch: Now comes the crucial part for encouraging root growth. I selected a healthy branch on the silk floss tree and carefully girdled it. This involves removing a ring of bark, including the cambium layer (the thin layer of actively growing tissue just under the bark), about an inch or two wide. This interruption signals to the plant to send out roots above the cut.
-
Applying Rooting Hormone: To give the rooting process a boost, I applied a rooting hormone powder to the exposed cambium layer. This encourages the development of new roots.
-
Wrapping and Securing the Pot: Carefully open the prepared pot along the slit and position it around the girdled section of the branch. Align the bottom hole so the branch passes through it. Then, close the pot and secure it tightly using cable ties threaded through the drilled holes.
-
Preparing the Soil Mix: Here’s where my anti-pest strategy comes in! I mixed a good quality potting soil with a product called “Root Blast” (a root growth stimulant) and, importantly, some ant sand. In my experience, ants can be quite attracted to the moist soil within the air layering setup and can even bring along mealybugs, which are definitely not welcome! The ant sand acts as a deterrent.
-
Filling the Pot: Carefully fill the pot surrounding the girdled branch with the prepared soil mix. Ensure the girdled area is well covered.
-
Sealing the Side Cut: To prevent the soil from drying out too quickly and to keep any unwanted critters out, I wrapped the cut edge of the pot with tape.
-
Watering In: Finally, I gently watered the soil within the pot to settle it and provide initial moisture.
-
The Waiting Game: And now, the hardest part… patience! It will take a few months for roots to develop within the pot. I’ll be keeping an eye on it, ensuring the soil stays slightly moist.
The Grand Finale:
Once a healthy network of roots has formed (you’ll likely see them through the drainage holes or feel resistance if you gently tug), the magic happens! I’ll carefully cut the branch off the parent tree just below the bottom of the pot. The top section of the original tree will continue to grow. The newly rooted section in the pot is now its own independent tree, a genetic clone of its magnificent parent! I can then carefully remove the pot and repot my new silk floss tree. Instant mature tree – how cool is that?!
Hopefully, sharing my slightly off-the-wall method inspires others to give air layering a go. It’s a rewarding way to propagate your favorite plants and expand your green collection. Now, if you’ll excuse me, I think I need another cup of tea and a little more rest before my next gardening adventure! 🌿💚 #sickday #grateful #gardening #airlayering #silktree #ceibaspeciosa #outonalimb #plantpropagation #growyourown #gardenlife #kiwigardening #propagationtechniques #cloningplants #maturetrees #diygardening #roots #patience